’84 El Camino: My Way
- Jun 18, 2015
As told by Bill White
Meriden, CT
Photography by Nicole Huelsman
I’m at a car show drooling over a drop-dead gorgeous ’69 Chevelle SS 396. I had one when I wore younger man’s clothes. I want one… trouble is they’re priced way out of sight. While wiping my drool from his car, the Chevelle’s owner tells me that a friend has an El Camino for sale. Sounds interesting. I always liked the El Caminos and there are not a lot of them left.

So my son Tyler, 20 at the time, and I went to take a look at the truck. An ’84 El Camino, drove OK but was a little beat-up– a previous owner had used it as a truck. Go figure! You know, using an El Camino as a truck is like thinking a Yugo is a musclecar. I’ve always thought of the El Camino as a gentleman’s pick-up: maybe carry a bale of hay for your horse or a bag of grass seed home from the garden store.

Anyway, it had the proper rust under the chrome, just as a New England Chevy should. Wheel well flares, front fenders, door skin and frame, rockers and quarter panels were solid, but there was a big dent in the roof like someone sat on it. The frame and floor pans looked decent. At least we would have a good foundation to build on– the rest was sheet metal, no big deal. The owner gave his asking price, I countered with a low offer. He took it!
Now, what to do with the El Camino I just bought! Maybe a modified classic? Yeah! And build it around the engine of choice, a high performance small-block. I’m not the brightest bulb on the tree, but I’m smart enough to find the ones that are. Their advice and counseling is invaluable. OK then, let’s go!
Step One: Pull the engine and transmission; strip the engine compartment, clean and POR the entire underside, clean, prep and paint the engine compartment and silver powder coat the metal parts. Add a Griffin polished aluminum radiator, Black Magic electric fan, Cool Flex copper radiator and heater hoses and March polished aluminum serpentine belt system.
[envira-gallery id="2164"]
Step Two: Powertrain. The Chevy ZZ4 5.7 High Output 355 hp with aluminum heads had it all. Four bolt mains, forged crank, powdered metal steel rods, hydraulic roller cam and lifters, 10:1 aluminum pistons and HEI ignition. Fuel injection appealed to me– I found a rebuilt Tuned Port Injection and module from a ’92 Camaro. Polished it up and had it silver powder coated. Plugged in a Howell wiring harness. Added silver ceramic coated headers and Flowmaster mufflers, bringing the horsepower up to about 375. Installed an Ingear 700R4 high performance transmission and drive shaft into a Mosher 12 bolt Posi-Traction rear with 3.90 gears.
Step Three: Suspension. One inch lowered Hotchkis tubular front A frames and 1.25” sway bar suspension silver powder coated, Hotchkis Four Point rear suspension, front and rear KYB shocks on coil springs, Wilwood disc brakes all around.
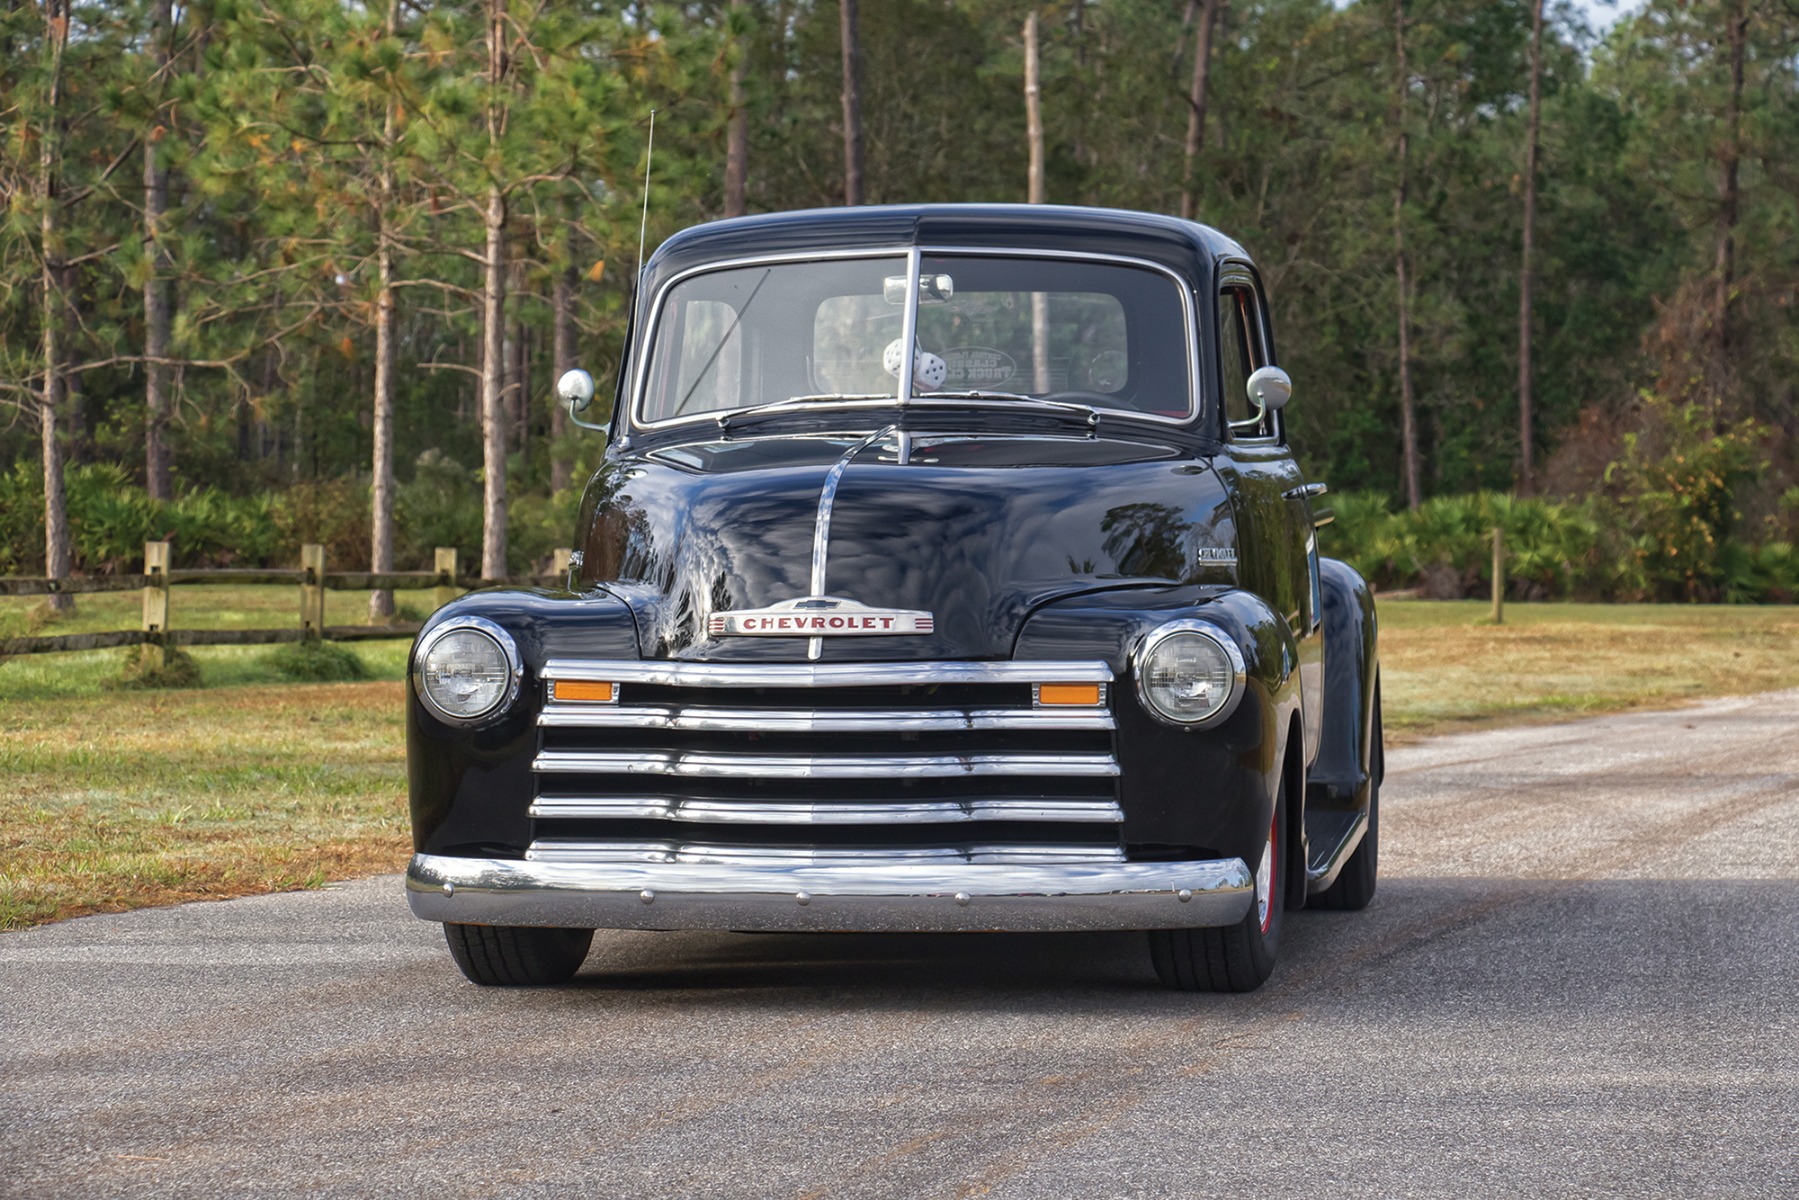
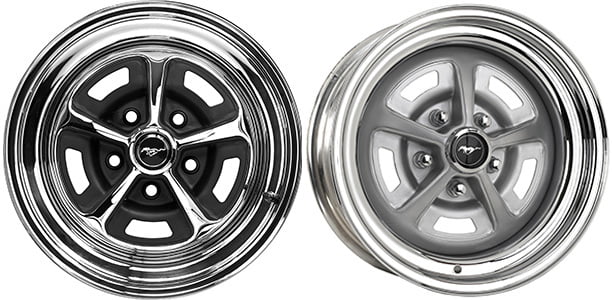
Step Four: Body & paint. On to Allstar Hotrods for body restoration and paint. Removed all the chrome trim. Replaced the plastic egg crate with a Stull aluminum billet grille. Custom steel cowl hood and Gaylord’s Kustom fiberglass lid were next. For paint, a custom mixed but conservative BMW Titanium. What to do for a graphic? Seems like everybody does flames, I wanted something different… like a ribbon when it’s twisted and it had to be “ghosted”. Derrick Pesko painted the graphic in pearl, and the effect is dazzling! As the light changes, the pearl picks up the subtle hues in the titanium base. Finished off with a custom bed carpet from Gaylord’s Kustom, Chevy Rally Wheels and 10” “fatty grabs” on the back.
[envira-gallery id="2168"]
(Almost) Final Step: The proof of the pudding. WOW! What a ride! This isn’t your go-to-the-garden-store El Camino anymore. It’s rather like a very classy lady with an attitude. She’s wearing a simple yet elegant dress with just a touch of jewelry, and hiding something a little more sinister.
I love driving my El Camino. It’s a beautiful early Sunday morning and I’m going to a car show. Suddenly I noticed the water temp gauge “pegged!” Got off the road, shut down the engine, opened the hood expecting to see a massive over-heat, but no, everything’s fine, the overflow tank was empty and cool. Must be the sender. When we were about to change it, Tyler said, “Dad, do you really want to risk that beautiful engine to a wire?” Good point! We installed “mechanical” Auto Meter water and oil gauges. Mounted them in pods on the windshield post. Looks and works great!
This has been a most rewarding project that will probably never really be “done”, and never could have happened without the invaluable advice, knowledge, technical support, skills and craftsmanship of some very special people. First of all, my son Tyler White (a total car guy), Disturbed Image Truck Club, Flat-Out Fabrication, Frank Bronner of Blacktop Motor Sports, Danny Forline, Danny’s Unlimited, Derrick Pesko, Allstar Hotrods, photography by Nicole Huelsman and most of all, my wife Pam. You guys are the best!


