Differential Housing and Gear Set
- Jul 3, 2015
Inspection of differential housing and gear set
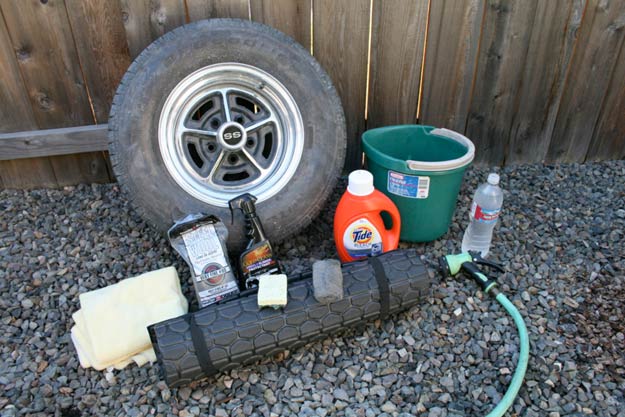
Tools Needed: Standard socket set, flat-blade screwdriver, hammer or mallet.
Tinware Needed: New gear oil, clean rags, a container to collect the old oil, and a new differential cover gasket.
In this relatively brief “You Can Do It”, we’re going to cover how to inspect your car’s differential housing and gears, not a total rebuild. You won’t need a lot of tools for this job, just a standard socket set, flat-blade screwdriver and a hammer or mallet. Your “tinware” will include new gear oil, clean rags, a container to collect the old oil, and a new differential cover gasket.
Let’s face it; it’s easy to neglect routine maintenance needs of your car’s rear axle assembly. Unless there is some horrific grinding coming from back there, the differential fluid level is probably good and clean. An easy-to-believe scenario, but not entirely accurate. True, the rear end components are pretty tough, but even they need to be cared for. When you think about the extreme loads that are being placed on the differential and rear axles, it’s pretty easy to realize that in time, breakdown is inevitable. Preventative and periodic maintenance can go a long way!
A totally ignored rear end assembly can cost you more than money, it can cost power too. Posi-Traction units will loose much of their effectiveness, and open ended diffs can become utterly useless. All the engine power in the world does you absolutely no good if the rear end is unable to deliver that power to the drive wheels. And in order to do so, everything must be in perfect working order. If you suspect problems, or maybe you can’t remember the last time the gear oil has been changed, it’s definitely time for a routine inspection and clean-up.

In this photo, a flat-blade screwdriver is used to break the gasket bond between the cover and the housing surface.
First off, the rear differential cover must be removed. Using a shop hoist is best, or, if you don’t have access to one, use a floor jack and jack stands. The object here is to safely raise and secure the rear of the vehicle, allowing access to the cover bolts. You’ll need to have some type of container in position to catch the gear oil from the bottom of the housing once it’s removed. Then, remove the retaining bolts from the diff cover, starting with the bolts near the top of the cover. After the bolts are removed, it may still be necessary to pry the cover along the edges away from the housing. The thick, rear-end gasket can create a pretty tight bond between the two surfaces. Go easy, being careful not to bend the sealing area of the cover plate.

With a clean rag, wipe and remove any sludge and/or metal shavings from the diff housing.
Once the cover has been removed and the fluid drained, you’re going to inspect the inside of the housing for any built-up sludge. Use a shop light or a strong flash light to really see what’s going on in there, and remove the sludge (usually found at the bottom of the housing) with some clean rags. Commercial cleaners in the form of spray cans work well for dissolving old residue and oils.

Now, this is where you’re going to have to have a sharp eye. Closely examine the teeth of the gears for chipped edges or cracking. One side of the ring gear may show excessive wear. This usually indicates sloppy gear engagement and operation. If the teeth appear to be damaged, you should replace the gear set. If you can tackle this yourself, great. If not, go see a quality shop and have the work done. If you decide to do the job on your own, Eckler’s has everything you’ll need to get the job done properly. From new ring and pinion sets to complete differential units and rebuild kits, Eckler’s has it all for your classic Chevy. If you need advice, give one of the Eckler’s sales technicians a call, they’ll be able to answer any questions you may have.
If however, after a thorough inspection and cleaning, your gears appear OK, install a new diff cover gasket and your cover plate. Torque the bolts down evenly to the manufacturer’s specs. Refill the case with quality gear oil and check for leaks.